Friday 27 February 2015

Another Mum Card

This design is a work in progress.  I like the technique of partly stamping and colouring the letters, so I'm gonna make a few more cards like this :)

All products are Stampin Up, apart from  my trusty Spectrum Noir Pencils, which I used to colour the stamp.

I have used 'baked brown sugar' cardstock and white embossing powder on the stamped image -'So Grateful'. The base card is embossed with Mosaic Madness folder.


Stampin Up and Spectrum Noir Pencils

Cardmaking Photos

I love making cards, and more often than not I like the finished result.  Until I take a photo.

I know my photography skills are lacking, but I also find that photos hilight flaws that I hadn't noticed.  Not necessarily unwanted blobs of glue, or wonky layers, but flaws in the layout or design.

I made this card a few days ago with my latest stampin up goodies, but I didn't like it so much once I took the photo.
Original Card

I've edited the card in photoshop and it looks a bit different now :

Photoshopped to remove some elements


I think I like the second layout better, so I might have another go at this card!

I have to say I do like hybrid crafting, using my computer to help me craft, with Serif or the Silhouette.  So now I think I am going to use photography a bit more to help me make better cards :)

Tuesday 24 February 2015

New Blog Design using Serif Craft Artist


I've redesigned my blog using my Craft Artist Programme, which to be honest, has been gathering dust a bit lately.  I used this fab kit from Sahlin Studio. It's called sunny with blue skies.

I bought it from the LilyPad because I wanted to use PayPal, but it is available on the DaisyTrail website.  I was able to create my own digikit in CraftArtist, but if I had bought it from Daisy Trail, it would have been pre-organised for me. So now I know :)

I am pretty pleased with the way it looks, although the header does look better in high resolution: here's a pic:

I've enjoyed doing a bit of digital crafting, I will have to have a go at making a scrapbook page with this kit it's so pretty!


Layout Design

I'm updating my blog layout today, which is why it might look a bit peculiar!

I've created my own images using digital scrapbooking supplies (more on that later...)  I haven't got it quite right yet so apologies if it's misbehaving today :)

Friday 20 February 2015

Tea Time - Free 3-Step Card!

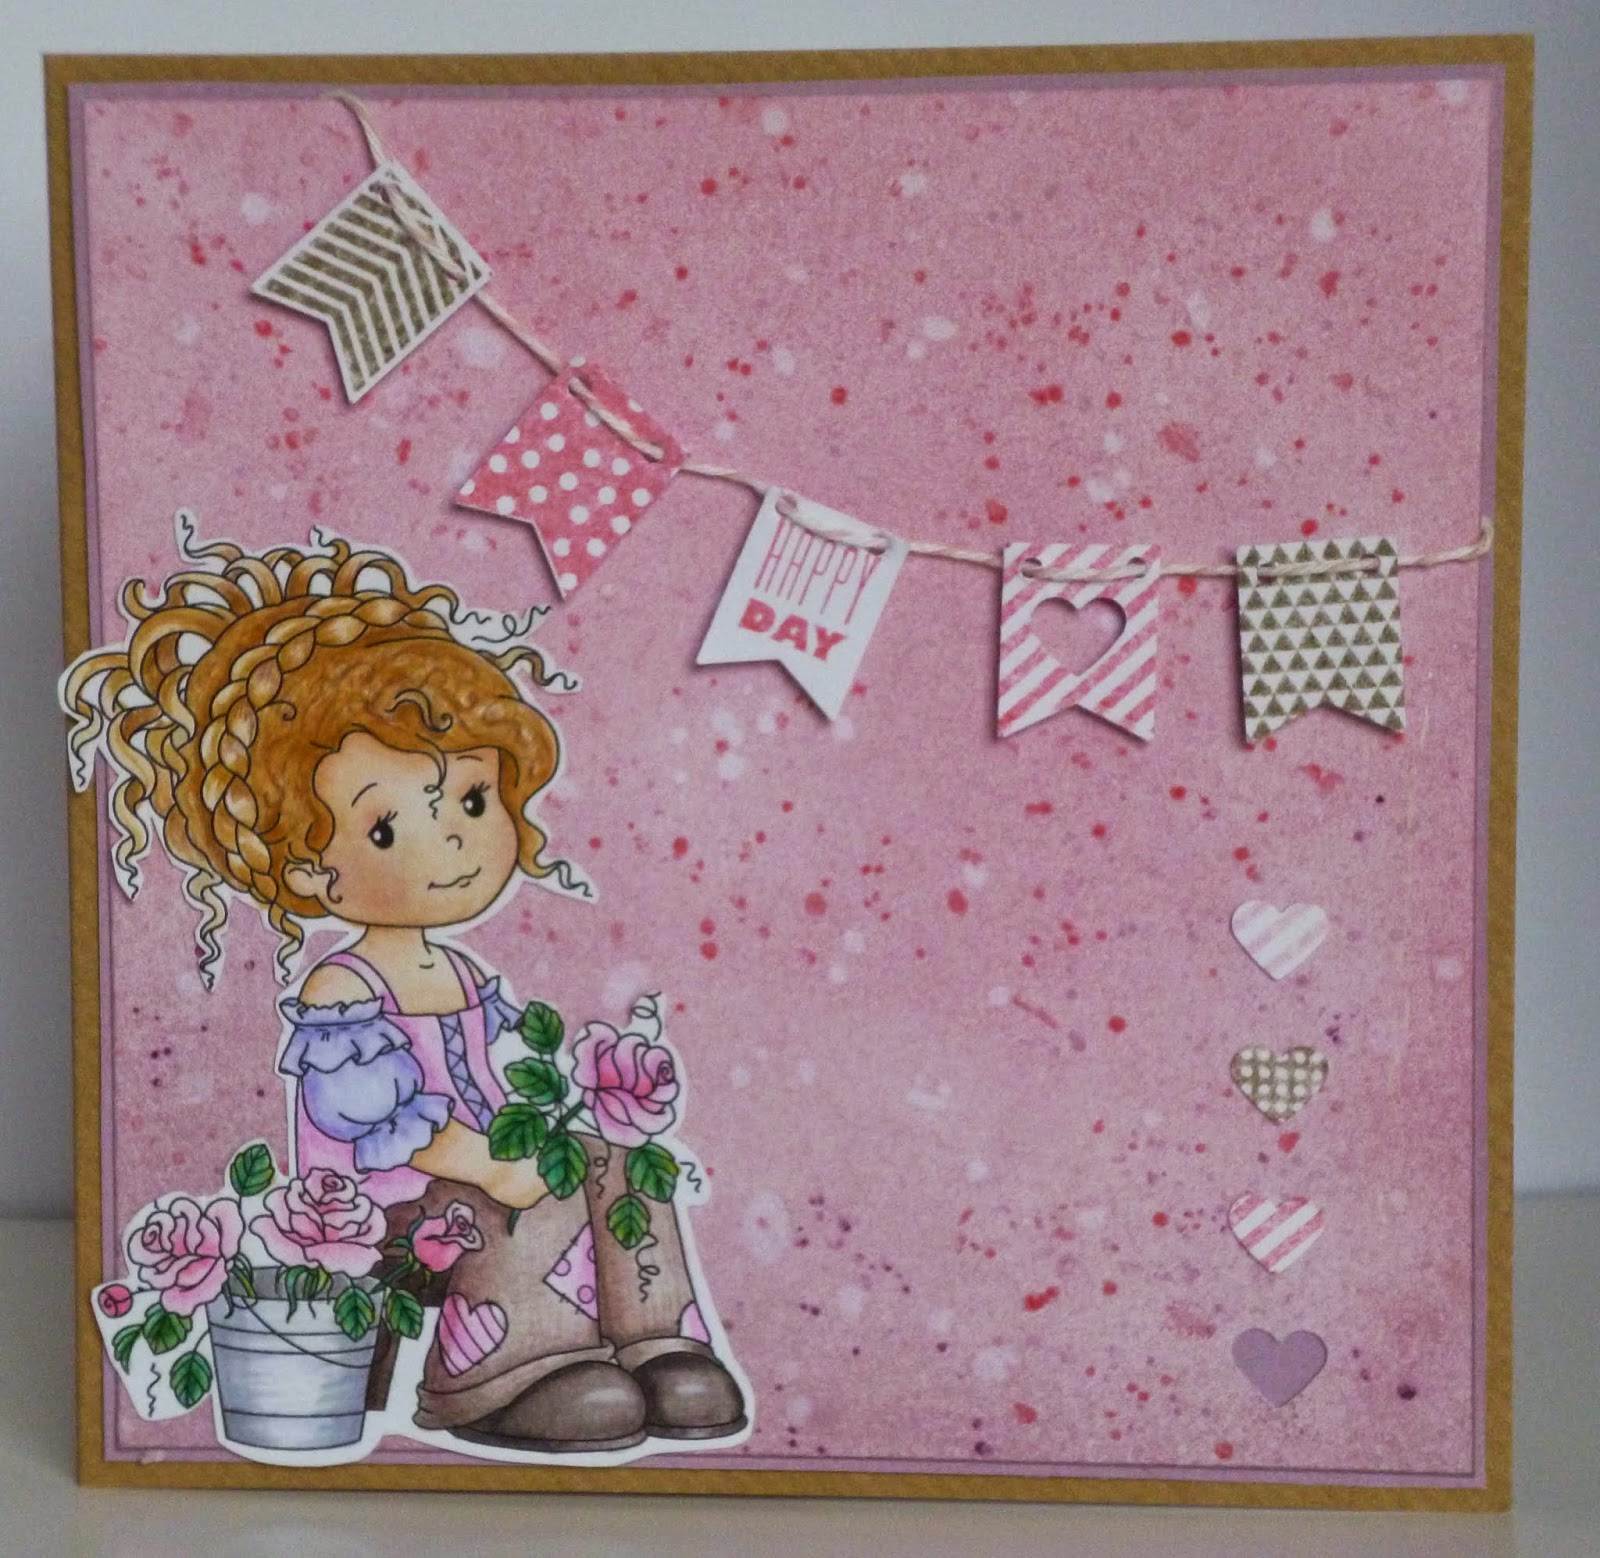
I've made this card with this month's free papers over at Club Inspire.  I distressed them with a little Old Paper Distress Ink.  I also used a Sentimentals stamp for the focus point.

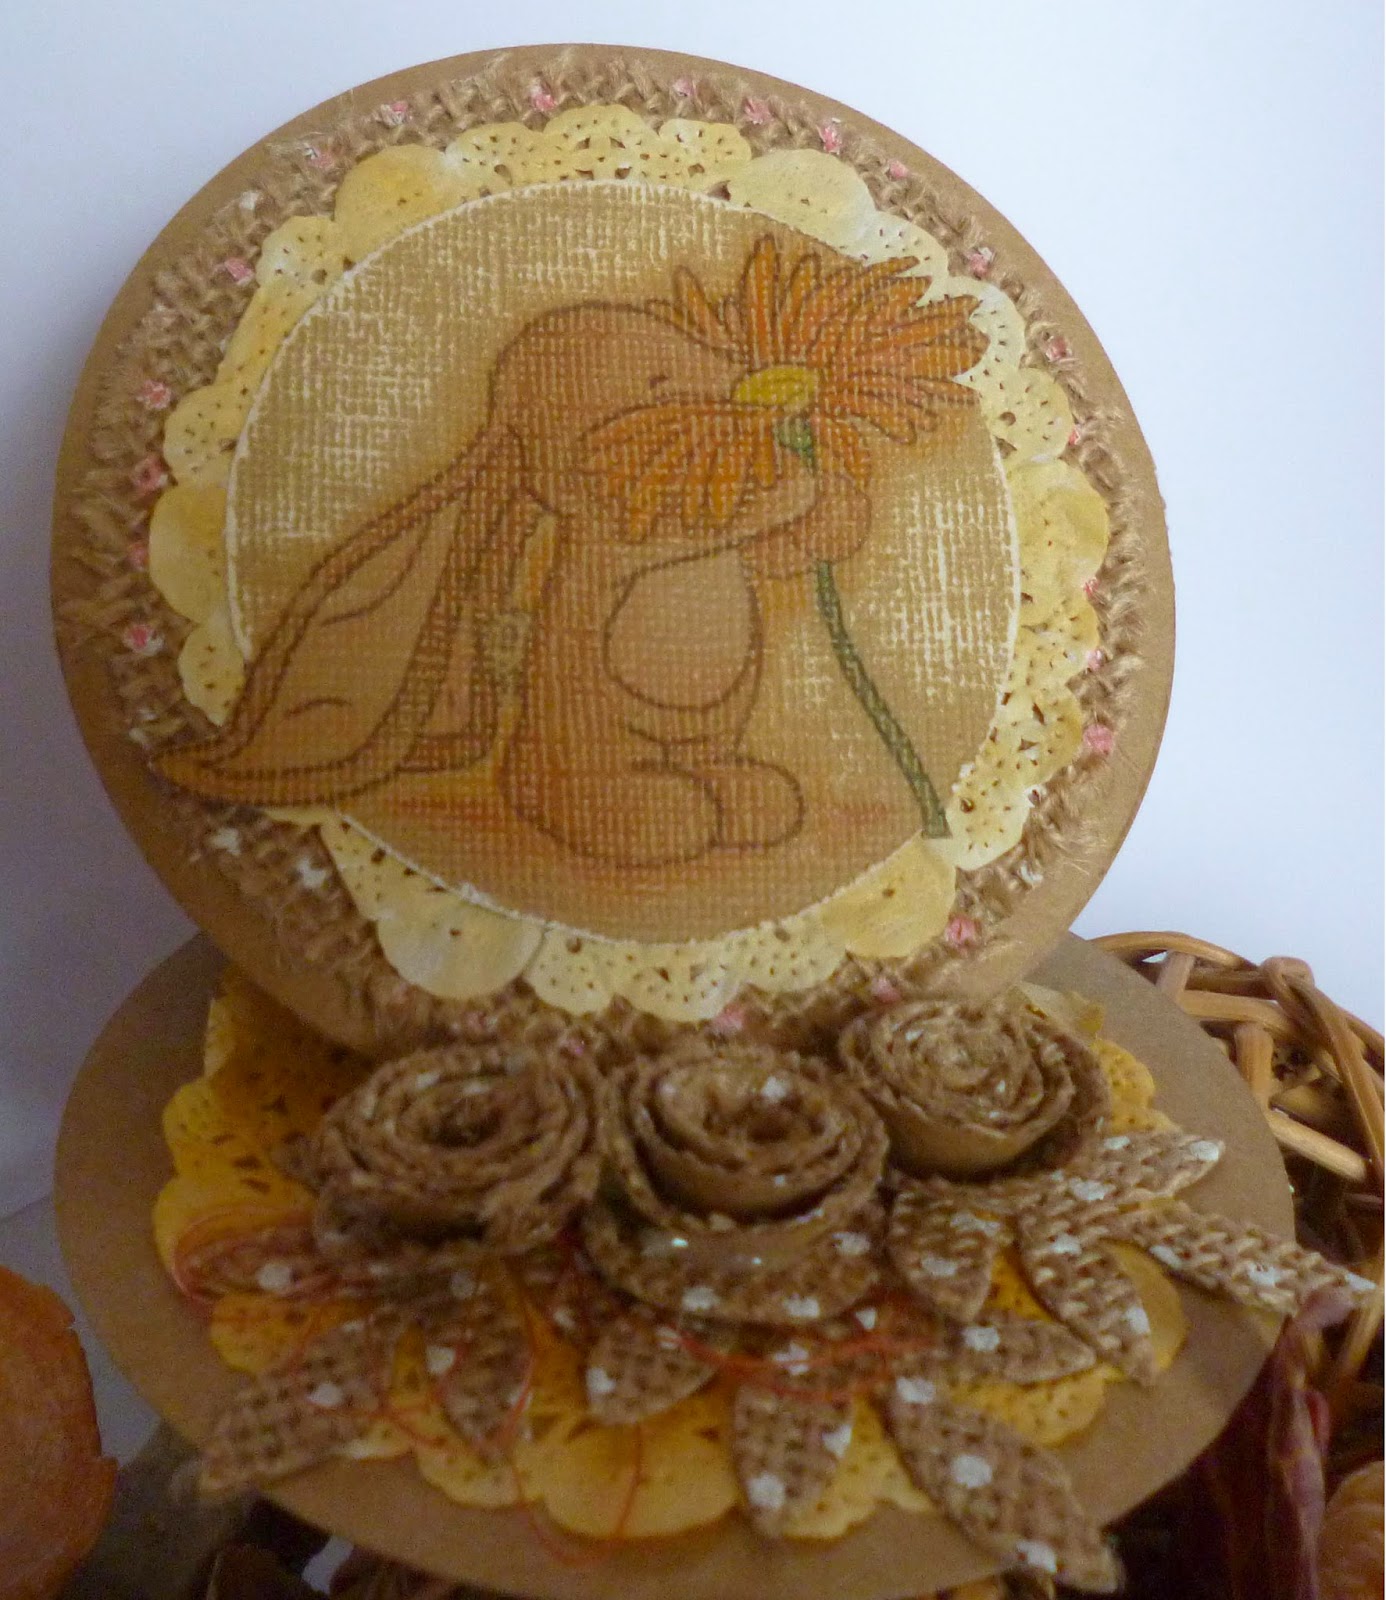
The pearls came free with a magazine, I strung them up as a nice alternative to ribbon.

I printed off the teacup and saucer multiple times to make the stack of cups.  I also coated this with Spray 'n' Shine, but it doesn't show up in the photo :(

I need to work on my photography, but it's getting a bit better with practice....


The base card including the mat and layers is a cutting file I've made on the Silhouette.  You can download it on the right, it's a .studio file.  I've always loved making this type of card, but struggled to accurately cut the mat and layers with a ruler and knife.  Problem solved :)

There are a few of these templates available for free on the internet, if you haven't got a Silhouette.

Thursday 19 February 2015

BeBunni Spring


A quick post and a little card made with my circle easel template, which you can download for free on the right. All my files are .studio files for the Silhouette.


The stamp is a Bebunni one which I have stamped onto core-dinations cardstock and coloured with Spectrum Noir Pencils.  I've also distressed the card with some light sanding.


Colour with a light touch and the texture of the card will show through.  If you find that you are being too heavy-handed hold your pencil further away from the nib, and lay your hand on the page for support. This should stop you putting too much pressure on your pencils.

Wednesday 18 February 2015

Textures and Colours

I've lots going on with this card, contrasting colours - orange, green and purple, plus textures with paper flowers, gilding wax and I've stamped and coloured on core-dinations paper for even more texture.  I'm nit sure if I love this card or not - sometimes it's hard o decide when youv'e spent ages on a card.  My mum will love it though - that's the main thing.  She will know how much time and thought went into it - that's the beauty of giving handmade cards and gifts :)
Change colour with distress inks
Mmmm....Shiny!

I used Kraft Core-dinations, embossed with the Hessian Textures folder from Crafter's Companion.  I coloured it first with distress inks, the original shade of green was a bit too bright. Once embossed I coloured again with Distress Inks and buffed with Creative Expressions Golden Green Gilding Wax.

I wanted to leave the the centre un-embossed, so I used a Tonic die to cut my centre shape from thick board (saved from the back of A4 pad). I ran the sandwich through my Grand Calibur (B plate, folder, cardboard then raspberry plate).  I experimented first with my sandwich to get it just right!  Sometimes even just a sheet of copier paper added to the sandwich can make all the difference.I used a die from the same Tonic Set (Baroque Ovals) to cut the inset pattern. I placed a contrasting colourof the Kraft card behind.  


The word 'mum' is cut using the Silhouette.  I wanted the letters to be wide enough to stamp on. I've used the Stampin Up "I Like You" hostess set to stamp with, and coloured with my Spectrum Noir Pencils.  I've just stamped halfway up each letter for a bit of a different look.  The texture of the paper comes through & looks lovely. The Butterflies and Swirls are all from the same Tattered Lace Butterfly Vine Die.  This is a really versatile die to snip into.


Picked Raspberry and Dusty Concord
The paper flowers are all coloured with Distress Stains. You can also use alcohol markers, but the mulberry paper really drinks up the ink.  

I've also stamped the inside of the card and used the Tonic die to match the front.


Don't neglect the inside of your cards!

Friday 13 February 2015

Ta Dah - My Spectrum Aqua Markers Arrived Today

 I've been playing with my new pens, the 'Nature' set of the new Spectrum Aqua Markers.  I wish I could have bought all of them!  

I haven't really tried this kind of colouring before so I have been experimenting,

I used Crafter's Companion Watercolour card, which is perfect for these pens.  It's so thick I was able to colour on both sides. 

You can colour straight onto the dry paper with your pens and dilute with a wet brush.  I also tried colouring onto damp paper and then brushing out, again with a damp brush.

Marine + Boulder
= Black (for boot)

Kingfisher blue + amber
 = grey (fish)


I was able to make plenty of shades for my picture.  You can create new colours by scribbling onto a glass mat and using your brush to mix. 

And here's the finished project:


Wednesday 11 February 2015

Busy, Busy!

This card has gems, gilding flakes, foiled papers - you name it I've stuck it on!  The digi-stamp is by Hannah Lynn.  I think these stamps are so bold - they can take a lot of embellishments.  The corner dies are magazine freebies from Tattered Lace, which I used to cut out double sided adhesive sheets covered with gilding flakes.

I coloured the image with Spectrum Noir pens and pencils from Crafter's Companion.  

Hair : EB6 GB10
Skin : TN2,5 CR4
Reds : DR 1,3,5
Blues: BT4,5,7
Greys: BG4,2,1

The Papers are First Edition Neroli.


I'm entering her into the Spectrum Noir Monthly Challenge for February.  :D

Saturday 7 February 2015

Valentine's Card - You Rock!


Another Stampin Up card using the Adventure Bound DSP, Just Sayin' stamps and Word Bubbles Dies.  "You Rock" is another sentiment from the Chocolate Baroque Happy Words and Birds stamp set.  I love it with the pebbly paper!  I added some silver embossing powder and punched out hearts at the bottom for a bit of extra texture.

Alcohol inks - another great 'kid' project


We made this card using alcohol inks on acetate.  My son picked the colours, and I squirted a dot of each onto a felt pad.  He then pounced the felt onto the acetate to give this lovely background.  All we did then was added some ribbon and a die cut sentiment, layered onto a white card blank and it's done.  Really pretty and quick.  We used Adirondack inks and a die from the Stampin Up 'Crazy about You' set.  The ribbon is Coastal Cabana, again from Stampin' Up.

Washi Tape on the Silhouette - Great to do with the kids!

My seven year old and I made this pop out card on the silhouette using a cutting file from The Design Store. Instead of cutting the individual pieces from different coloured paper, we used washi tape.  First we sketched the outlines with a light coloured sketch pen. We made sure the mat was carefully lined up with the arrows. Leaving the card stuck to the mat, we covered the shapes with washi tape and put the card back through the silhouette to cut the shapes.  I wasn't sure it would work, but it turned out really well, even on the tiny beak!

It was a very easy way to get the effect of paper piecing without cutting out lots of different shapes.  We took so much care makng it that we decided to write the message onto some sticker paper and stick it in, rather than making any mistakes in the card.   We stuck it in once we were happy with it!
I've entered this in the Crafty Creations 'Owl Love You' Challenge.

Flower Girl

I've made a Distress Ink background using Milled Lavender and Spun Sugar with splashes of Worn Lipstick. I've used my the same inks with the Stampin Up Banner Blast set and Blushing Bride Baker's Twine for the bunting.  Another of my fave Wee Stamp images is coloured with Spectrum Noir pens and pencils.  I forgot to make a note of the colours today.